Precision in the Swing: Optimizing Technical Indicator Combinations
A strategic framework for mastering multi-day price cycles through technical confluence.
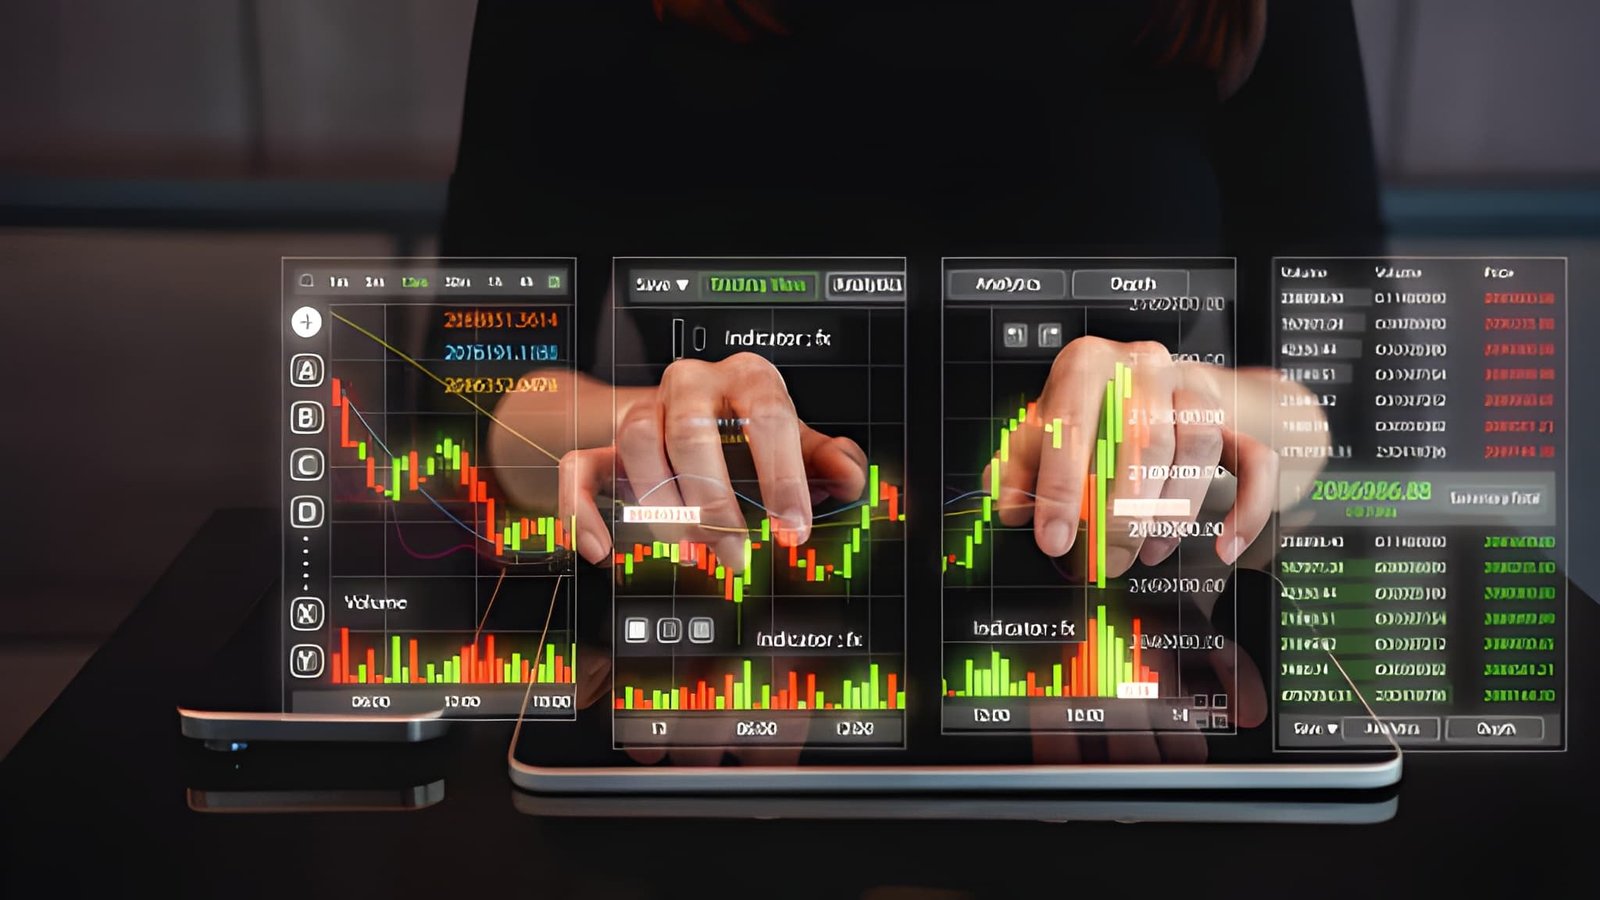
Swing trading occupies the strategic middle ground of the financial markets. Unlike day traders who fight for pennies within minutes, or long-term investors who weather years of economic cycles, swing traders look for "swings" in price action that typically last between two and ten trading sessions. Success in this timeframe requires a specific blend of indicators that can filter out intraday noise while providing earlier signals than traditional long-term moving averages.
The Power of Technical Confluence
Individual indicators are often criticized for being lagging or prone to false signals. This criticism is usually valid when an indicator is used in isolation. Technical analysis becomes an "art of the artisan" when we combine indicators that measure different dimensions of the market. For instance, using a trend indicator alongside a momentum oscillator provides a "filter" and a "trigger." The trend tells us which direction to trade, while the momentum indicator tells us when to pull the trigger.
Avoiding the Redundancy Trap
The most common mistake among novice swing traders is Indicator Redundancy. This occurs when a trader places three different momentum oscillators—such as the RSI, the Stochastics, and the Williams %R—on a single chart. Because all three use similar price-over-time calculations, they will almost always show the same signal. This creates a false sense of confidence. Professional systems use indicators that are mathematically "uncorrelated" to confirm a trade thesis.
Moving Averages (SMA/EMA), ADX, and Ichimoku Clouds. These determine the "tide" of the market.
RSI, Stochastics, and MACD. These measure the "speed" of price movement and identify exhaustion points.
Bollinger Bands, ATR, and Keltner Channels. These measure the "breath" of the market and set risk boundaries.
On-Balance Volume (OBV) and Chaikin Money Flow. These confirm if institutional capital is backing the move.
The Holy Trinity: Trend, Momentum, Volatility
A professional swing trading combination must address three questions: Is there a trend? Is the move accelerating or slowing down? How much "room" does the price have to move? By selecting one indicator from each of these categories, you create a robust system that accounts for the multifaceted nature of price action.
The Institutional Trend Follower (SMA + RSI + ATR)
This is the bedrock of professional swing trading. It focuses on entering established trends after a brief period of consolidation. It utilizes the "Law of Inertia," assuming a stock in motion will stay in motion unless a significant force acts upon it.
| Indicator | Setting | Strategic Role |
|---|---|---|
| SMA 50 / 200 | Standard | The Filter: Only take long trades if the 50 is above the 200 and price is above both. |
| RSI | 14-period | The Trigger: Wait for a pullback where RSI drops below 40 then turns up. |
| ATR | 14-period | The Safety: Use 2.0x ATR for the initial stop-loss to allow for market noise. |
The Mean Reversion Specialist (Bollinger Bands + Stochastics)
Swing trading isn't always about following the trend. Markets spend approximately 70% of their time in ranges or "mean-reverting" states. This combination is designed to profit from stocks that have moved too far, too fast, and are likely to "snap back" to their average price.
Wait for the price to close outside of the upper or lower Bollinger Band. This indicates that the price is now two standard deviations away from its mean, suggesting an overextended state.
Check the Slow Stochastics (8,3,3). For a long trade, you want the Stochastics to be below 20 (oversold) and showing a "K-line" crossing above the "D-line." This indicates the downward momentum has officially shifted.
The target for a mean reversion trade is the 20-period Moving Average (the middle line of the Bollinger Bands). This is the "Fair Value" level where the swing trade logic concludes.
The Volatility Squeeze Engine (MACD + ADX)
This combination is for traders looking for "Explosive" moves. It seeks to identify periods of extremely low volatility (coiling) that precede a massive breakout. We use the ADX to determine trend strength and the MACD to identify the direction of the coming explosion.
When the ADX is below 20, the market is in a "Squeeze" or "Sleep" state. As the ADX begins to rise above 20, it signals that a new trend is being born. Simultaneously, if the MACD histogram is expanding in a positive direction, it provides the directional bias for a long swing trade. This combination avoids the frustration of "choppy" markets and focuses only on high-velocity shifts.
The Quantitative Math of the Swing
Technical indicators only provide the "Where" and the "When." The "How Much" is determined by risk management math. In swing trading, the distance between your entry and your stop-loss (often determined by the ATR) dictates your position size. We apply the 1% Risk Model to ensure no single swing trade can cripple the portfolio.
Risk Tolerance = 1% ($250)
Stock Price = $150.00
ATR (14) = $4.50
Stop-Loss (2.0x ATR) = $9.00 below entry
Shares to Buy = $250 Risk / $9.00 Stop Distance
Shares to Buy = 27.77 (Round down to 27 shares)
Total Exposure = 27 * $150 = $4,050
By using this combination of technical confluence and rigorous mathematical positioning, the swing trader removes emotion from the equation. The indicators serve as the navigation system, while the risk management serves as the seatbelt. Together, they allow the investor to navigate the medium-term market swings with the confidence of a professional operator.
The goal of swing trading is to capture the "meat" of a move. We do not need to buy the absolute bottom or sell the absolute top. We use our chosen combination of technical indicators to identify the 60% of a move that has the highest mathematical probability of success. In the long run, it is this consistency—not the occasional "home run"—that builds wealth in the financial markets.